Tools you will need
Visual Studio
You can download it from here. When installing you will get a list of options, including several languages, grouped in what the installer calls "Workloads", as illustrated in the following image:
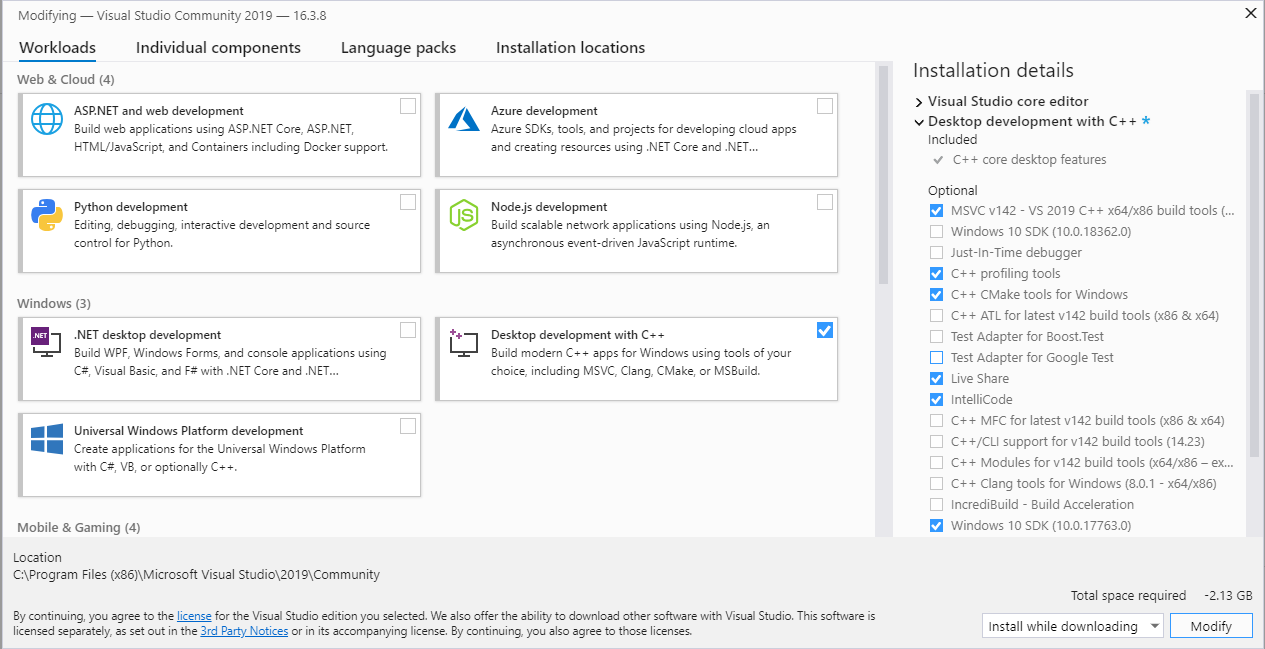
You need to select the option "Desktop development with C++". You can select others if you feel so inclined, but we will only be using the mentioned one. In the picture you can see the minimum components that you need to install (on the right).
CMake
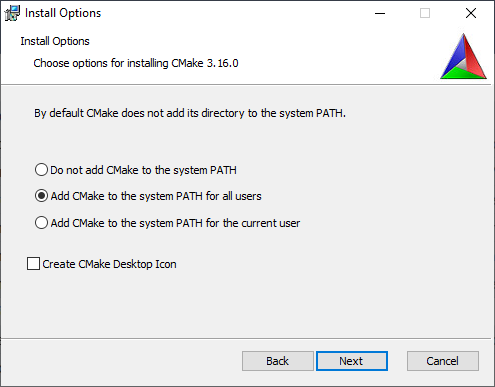
You can get the installer from here, under the Binary distributions section. When installing we recommend that you choose to add CMake to your PATH environment variable, either for all users or only for your current user. Otherwise you won't be able to access it through the CMD command prompt.
Git
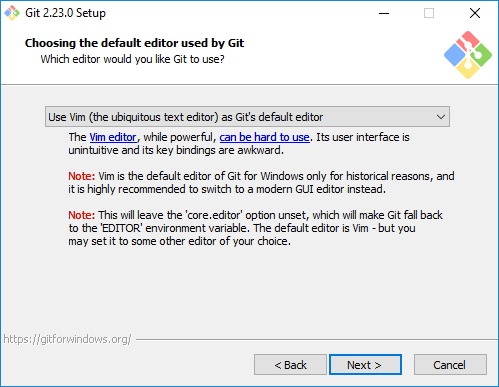
You can get the installer from here. When installing, most of the default options will be appropiate. We recommend, though, that you change the default editor git will be using when you are asked to. Choose whatever source code editor you are most comfortable with. If you don't have any installed, you might want to first install Visual Studio Code (this is not the same as the Visual Studio we installed before) or Notepad++.
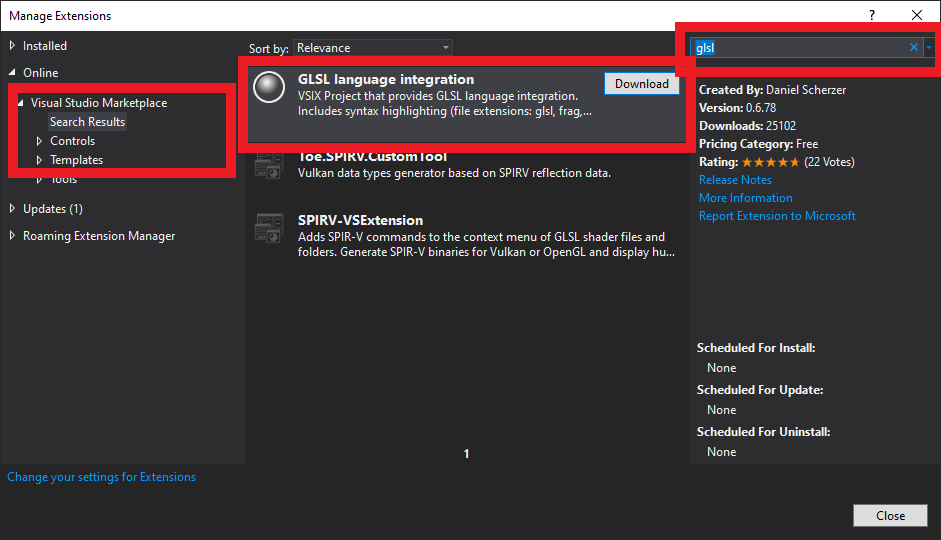
GLSL extension for Visual Studio
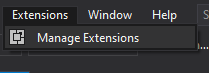
glsl on the top right input. Select the extension GLSL language integration and press Download. It will be installed once you close Visual Studio. Do so now and follow the instructions for it to install.
Initial Setup
Downloading the code for the Labs
With git
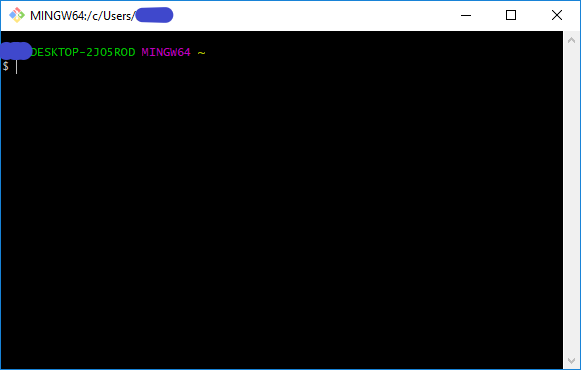
cd Documentsgit clone -o upstream https://gitlab.com/chalmerscg/tda362-labs-2020.gittda362-labs-2020. This is all you need from git, for now.
You can now rename the directory where the repository was downloaded, either from the file explorer or by running:
mv tda362-labs-2020 new_directory_nameWithout git
Configuring the projects with CMake
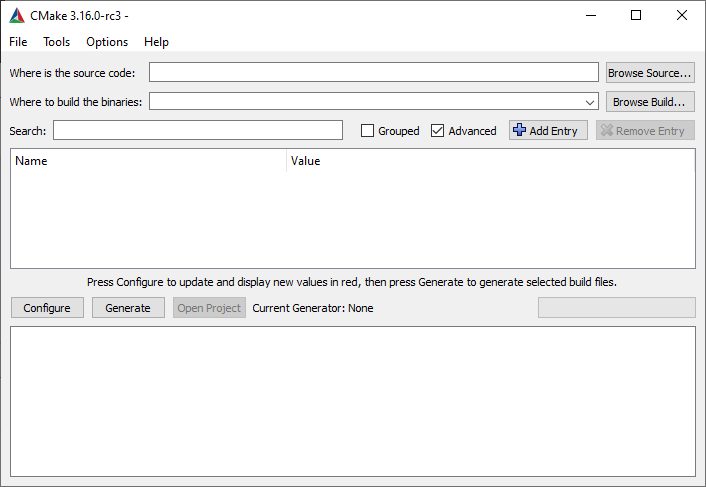
GUI
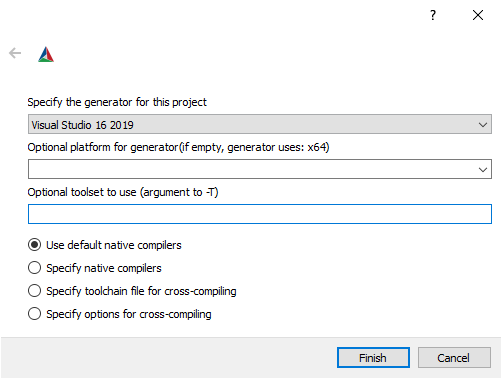
cmake in the Windows Start menu and you should get the result CMake (cmake-gui). Open that, and a screen like this should open:
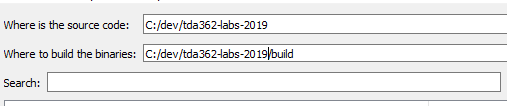
/build at the end of it. It should look similar to the next screenshot
-- Configuring done.
6. Press Generate. Once you see -- Generating done you can press Open Project to open the newly generated project in Visual Studio. You can now close CMake. You can also find the generated project in the build directory that was created in step 4.
Terminal
cd tda362-labs-2020mkdir build
cd buildcmake -G "Visual Studio 16 2019" ..-- Configuring done
-- Generating done
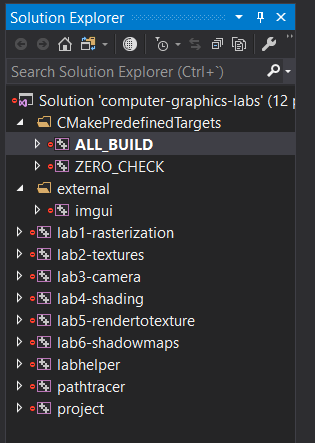
-- Build files have been written to: .....computer-graphics-labs.sln to open the newly created project in Visual Studio.
Working on the Labs
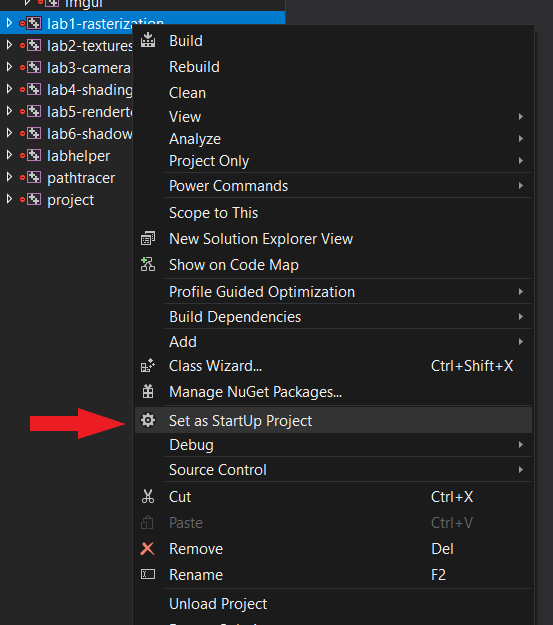
Building with Visual Studio

- In Debug you can add breakpoints, see values for variables when the program is paused, etc.
- In Release it runs a lot faster, but your debug options are severely limited.
- In RelWithDebInfo the program will run as fast as if it was on Release and you will also be able to set breakpoints, but not everywhere, as some parts of the code might have become optimized out. You will also have very limited view of variables' values.
Using git for version control
GitLab
Git Command Line Interface
git initThis should set up the repository for you.
Configuring Git and the project
First of all we need to setup git so it uses our information to mark the versions. Run the following commands:git config --global user.name "Your Name"
git config --global user.email "your_email@mail.com"Status and differences
To view what files in the repository have had changes since the last commit rungit statusgit diff _file_to_diff_Staging changes
To stage a file or list of files to be commited rungit add _file_path_
git add _file_path1_ _file_path2_ ...git add -ACommiting
To save the current state of the staged files as a new version run:git commit -m "This is the description for the changes in this commit"Saving to the cloud
Once you have commited some work you will want to save that on your Gitlab repository. First of all, let's tell git where the cloud repository is located. You can get the url to upload to GitLab from your project's page, clicking the Clone button. Get the HTTPS url, not the SSH one, unless you know how to set up SSH. Use this URL when running the following command:git remote add origin https://gitlab.com/_YOUR_USER_/_YOUR_PROJECT_.gitgit push -u origin/mastergit pushGetting changes from the cloud
If you or someone else has made changes to the code from a different computer and has pushed them, you will need to merge those with your code. To download the latest changes from the cloud rungit fetch origingit pullMore Advanced Actions
You can find a more detailed set of basic instructions here.You might also want to look at more advanced uses of git as version control and how to work in groups with it. You can start by looking for what is called the "Git Flow" which gives directives on how to work in teams by creating branches of the code for different features.
Finally, you can find a pretty detailed cheat-sheet of git commands and how they change the state of objects here and a simpler version in pdf here.
Visual Studio Live Share
OpenGL Documentation
Other Platforms
Visual Studio Code
Linux
Even though we don't officially support Linux, several of our TAs use Linux and there have been successful attempts in the past of using Linux to build and run the lab projects. We recommend you use Visual Studio Code for linux so you can interact with your group peers and with the TAs during online labs through the Live Share plugin.
In the slack we have a #linux where you might find help for issues you have in the platform.
Claudio kindly provided code with some fixes to work with linux, which might make your life a bit easier. Find it here.
Mac OSX
Apple hasn't supported OpenGL officially for many years now, with the only drivers for that platform being extremely outdated, so we can't offer support for working with the platform. The best way we think you can follow with the labs if you don't have other options is by virtualising a Windows system. You can get a free license for students of VMware Fusion and install a copy of Windows 10 on top of that. Hopefully this method will work for you well enough. You should have access to a copy of Windows 10 from Chalmers' on-the-hub collaboration with Microsoft, but one doesn't actually need a product key to install and use windows, so that could be a temporary option too.